Welcome to the PivotXL Add-in, your seamless bridge between Excel and monday.com. This guide walks you through how to connect, fetch data, and perform actions like inserting, updating, and moving items across groups directly from your Excel sheet.
Complete the PivotXL Add-in installation in Excel, then follow the steps in the guide below. ( If you don’t know how to install the PivotXL Add-in, click the link for the detailed guide. )
Step-by-Step Instructions
1. Login with monday.com
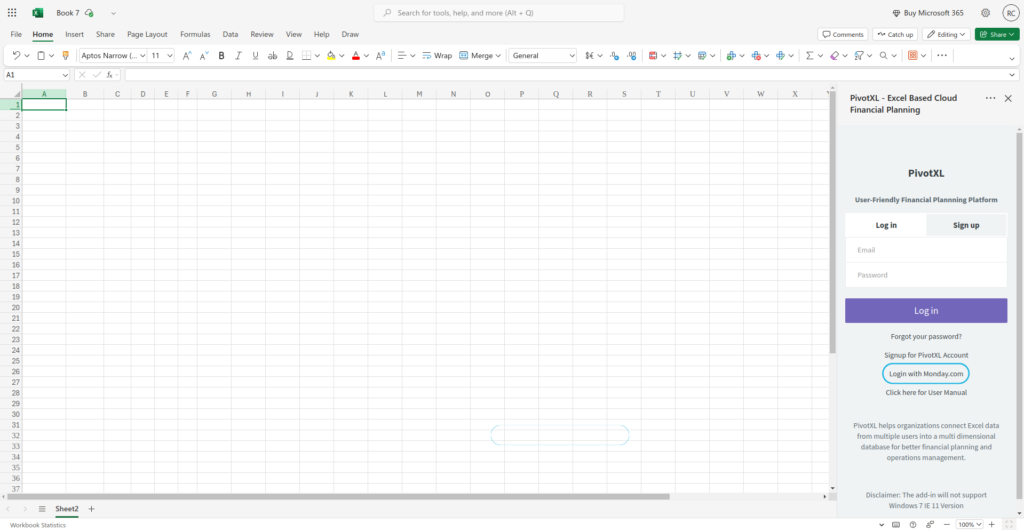
- Open the PivotXL Add-in.
- Click the “Login with monday.com” button.
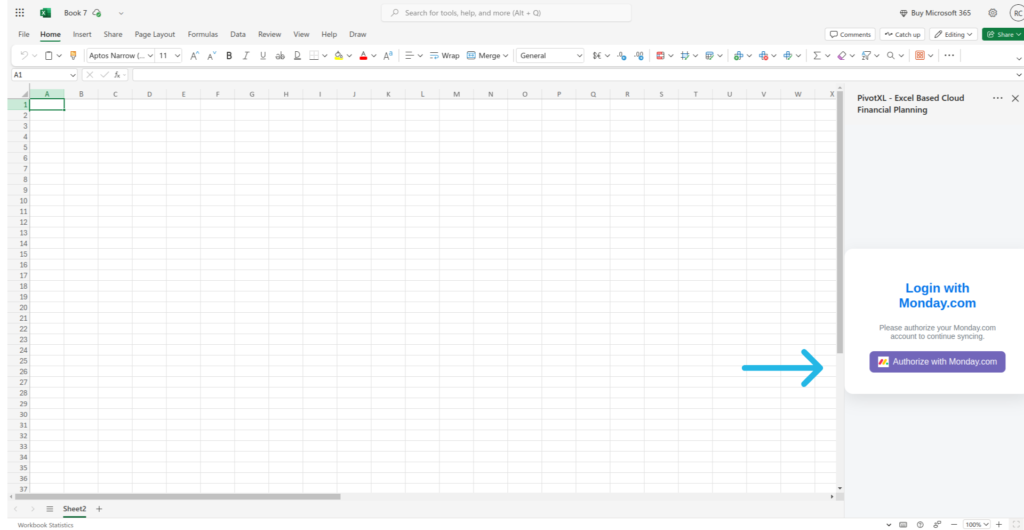
- A new authorization panel will appear.
- Click “Authorize with monday.com” to grant access.
- Once authorized successfully, you will see the “Get Boards” button.
2. Fetch Boards
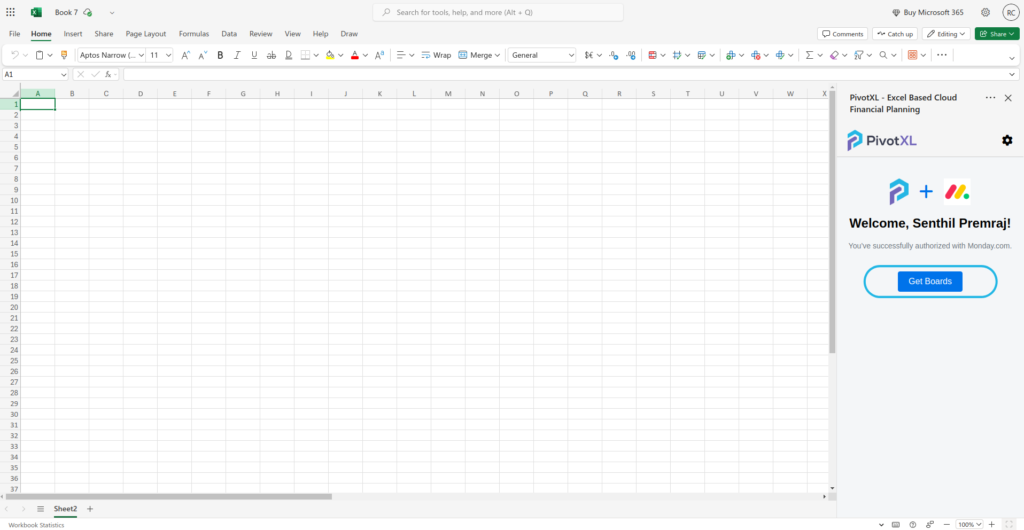
- Click “Get Boards” to retrieve all boards from your monday.com organization.
- A list of available boards will be shown for selection.
3. Fetch Board Data
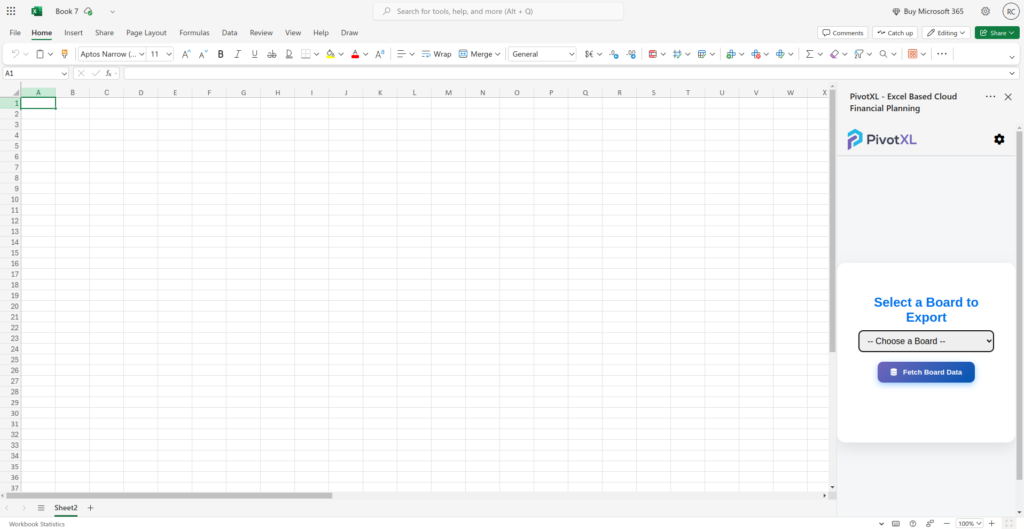
- Select the desired board from the dropdown.

- Click “Fetch Board Data” to load the board’s contents into the Excel sheet.
Working with Items in Excel
4. Insert Items
a. Insert Items Without Mentioning Group
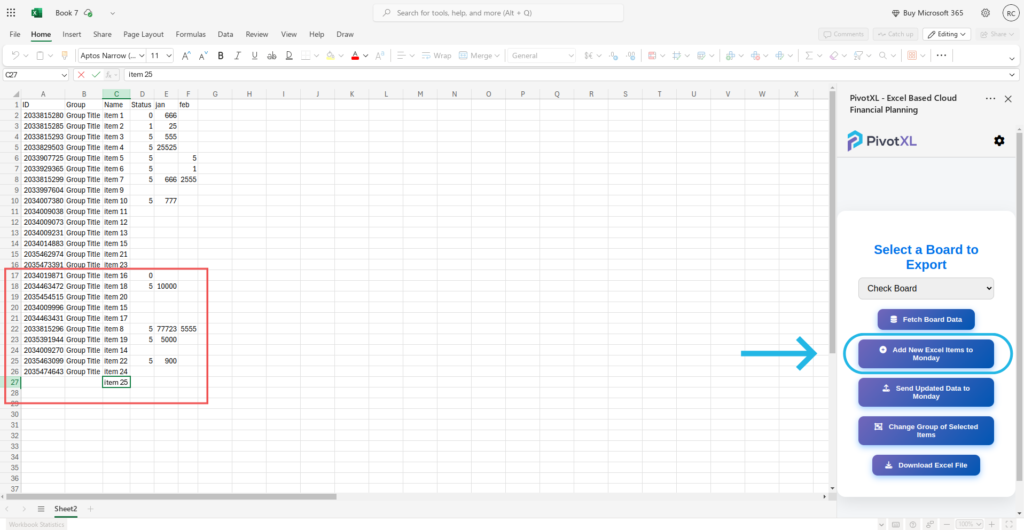
- In Excel, enter the item name in the appropriate column.
- Click “Add New Excel Items to monday”.
- The item will be added to the first group of the selected board.
b. Insert Items to a Particular Group
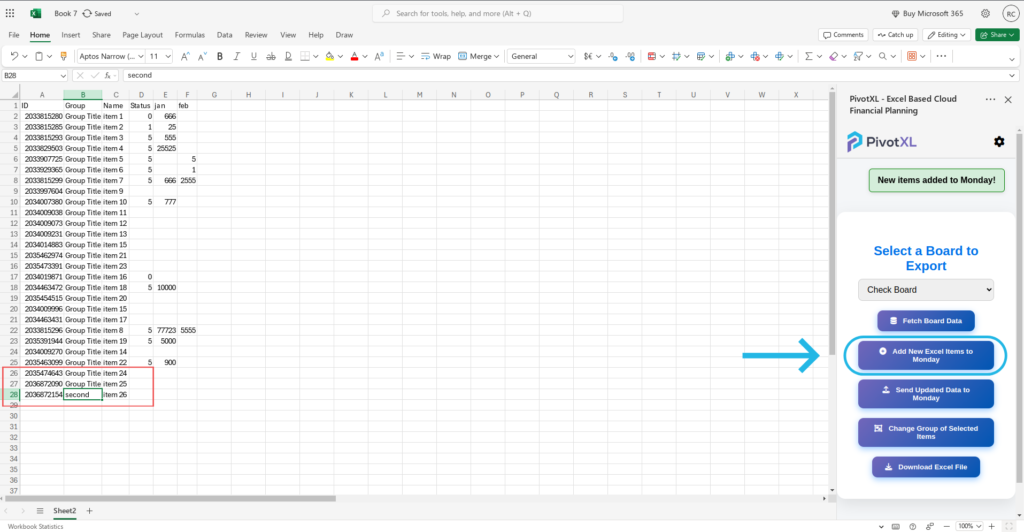
- Enter both item name and group name in the Excel sheet.
- Click “Add New Excel Items to monday”.
- The item will be added to the specified group.
5. Update Items
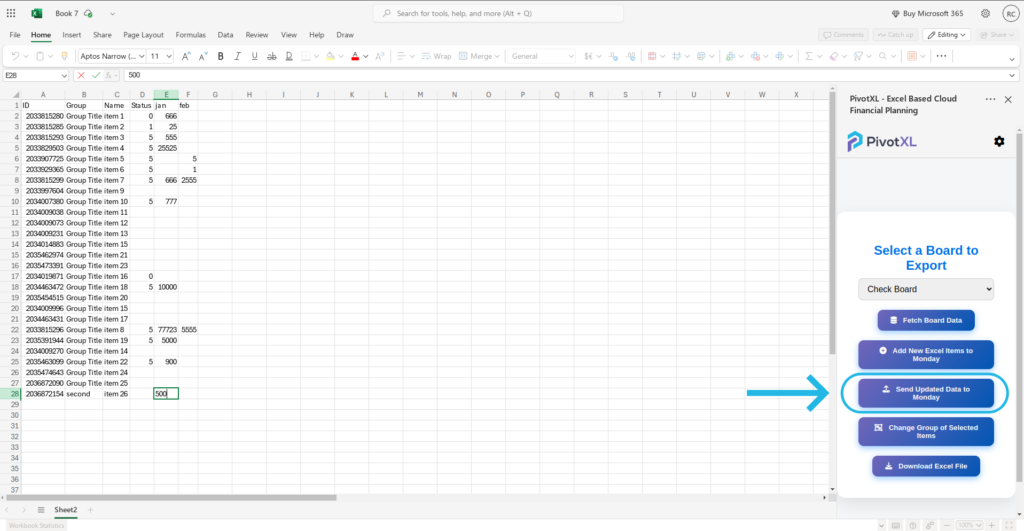
- Modify the existing item fields or add new values in the Excel sheet.
- Click “Send Updated Data to monday”.
- The changes will be reflected on your monday.com board.
6. Move Items Between Groups
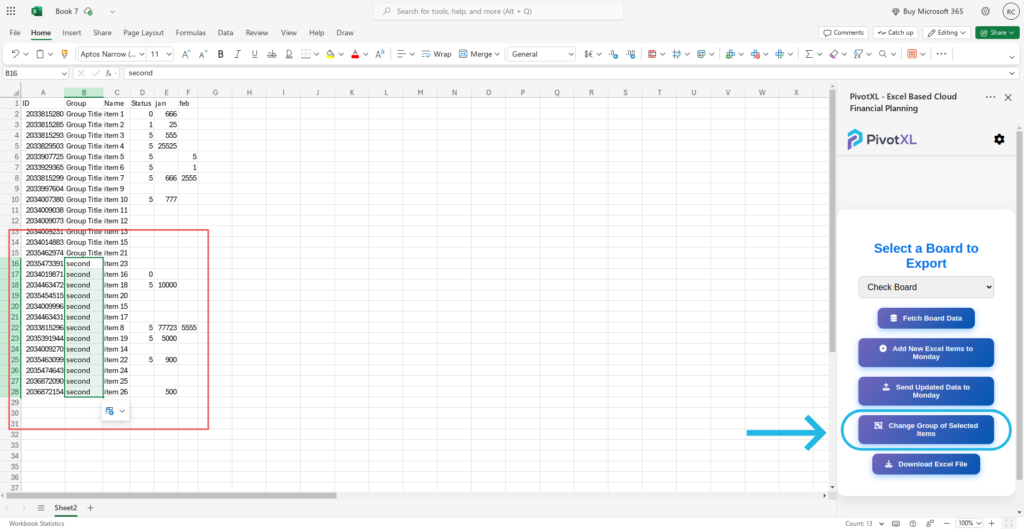
- Change the group title for the item(s) in Excel.
- Select the item rows you want to move.
- Click “Change Group of Selected Items”.
- The selected items will be moved to the updated group on monday.com.